- Category: Woodwork
- Written by Paul Chubb
- Hits: 3155
Dowelling for Newbies
I have pretensions to teach myself some fine carpentry skills. My general skills are slowly getting better but I have a long way to go. Currently I am working on dowelling.

Dowelling, like most fine woodworking is about precision. It is possible to do dowelling with no specialized tools. However you would need to be a master at precision with standard tools - that is able to drill holes at the right depth, in the right place and at right angles for all joints you make. Most people don't even try. They use a series of specialized tools which help them achieve the precision.
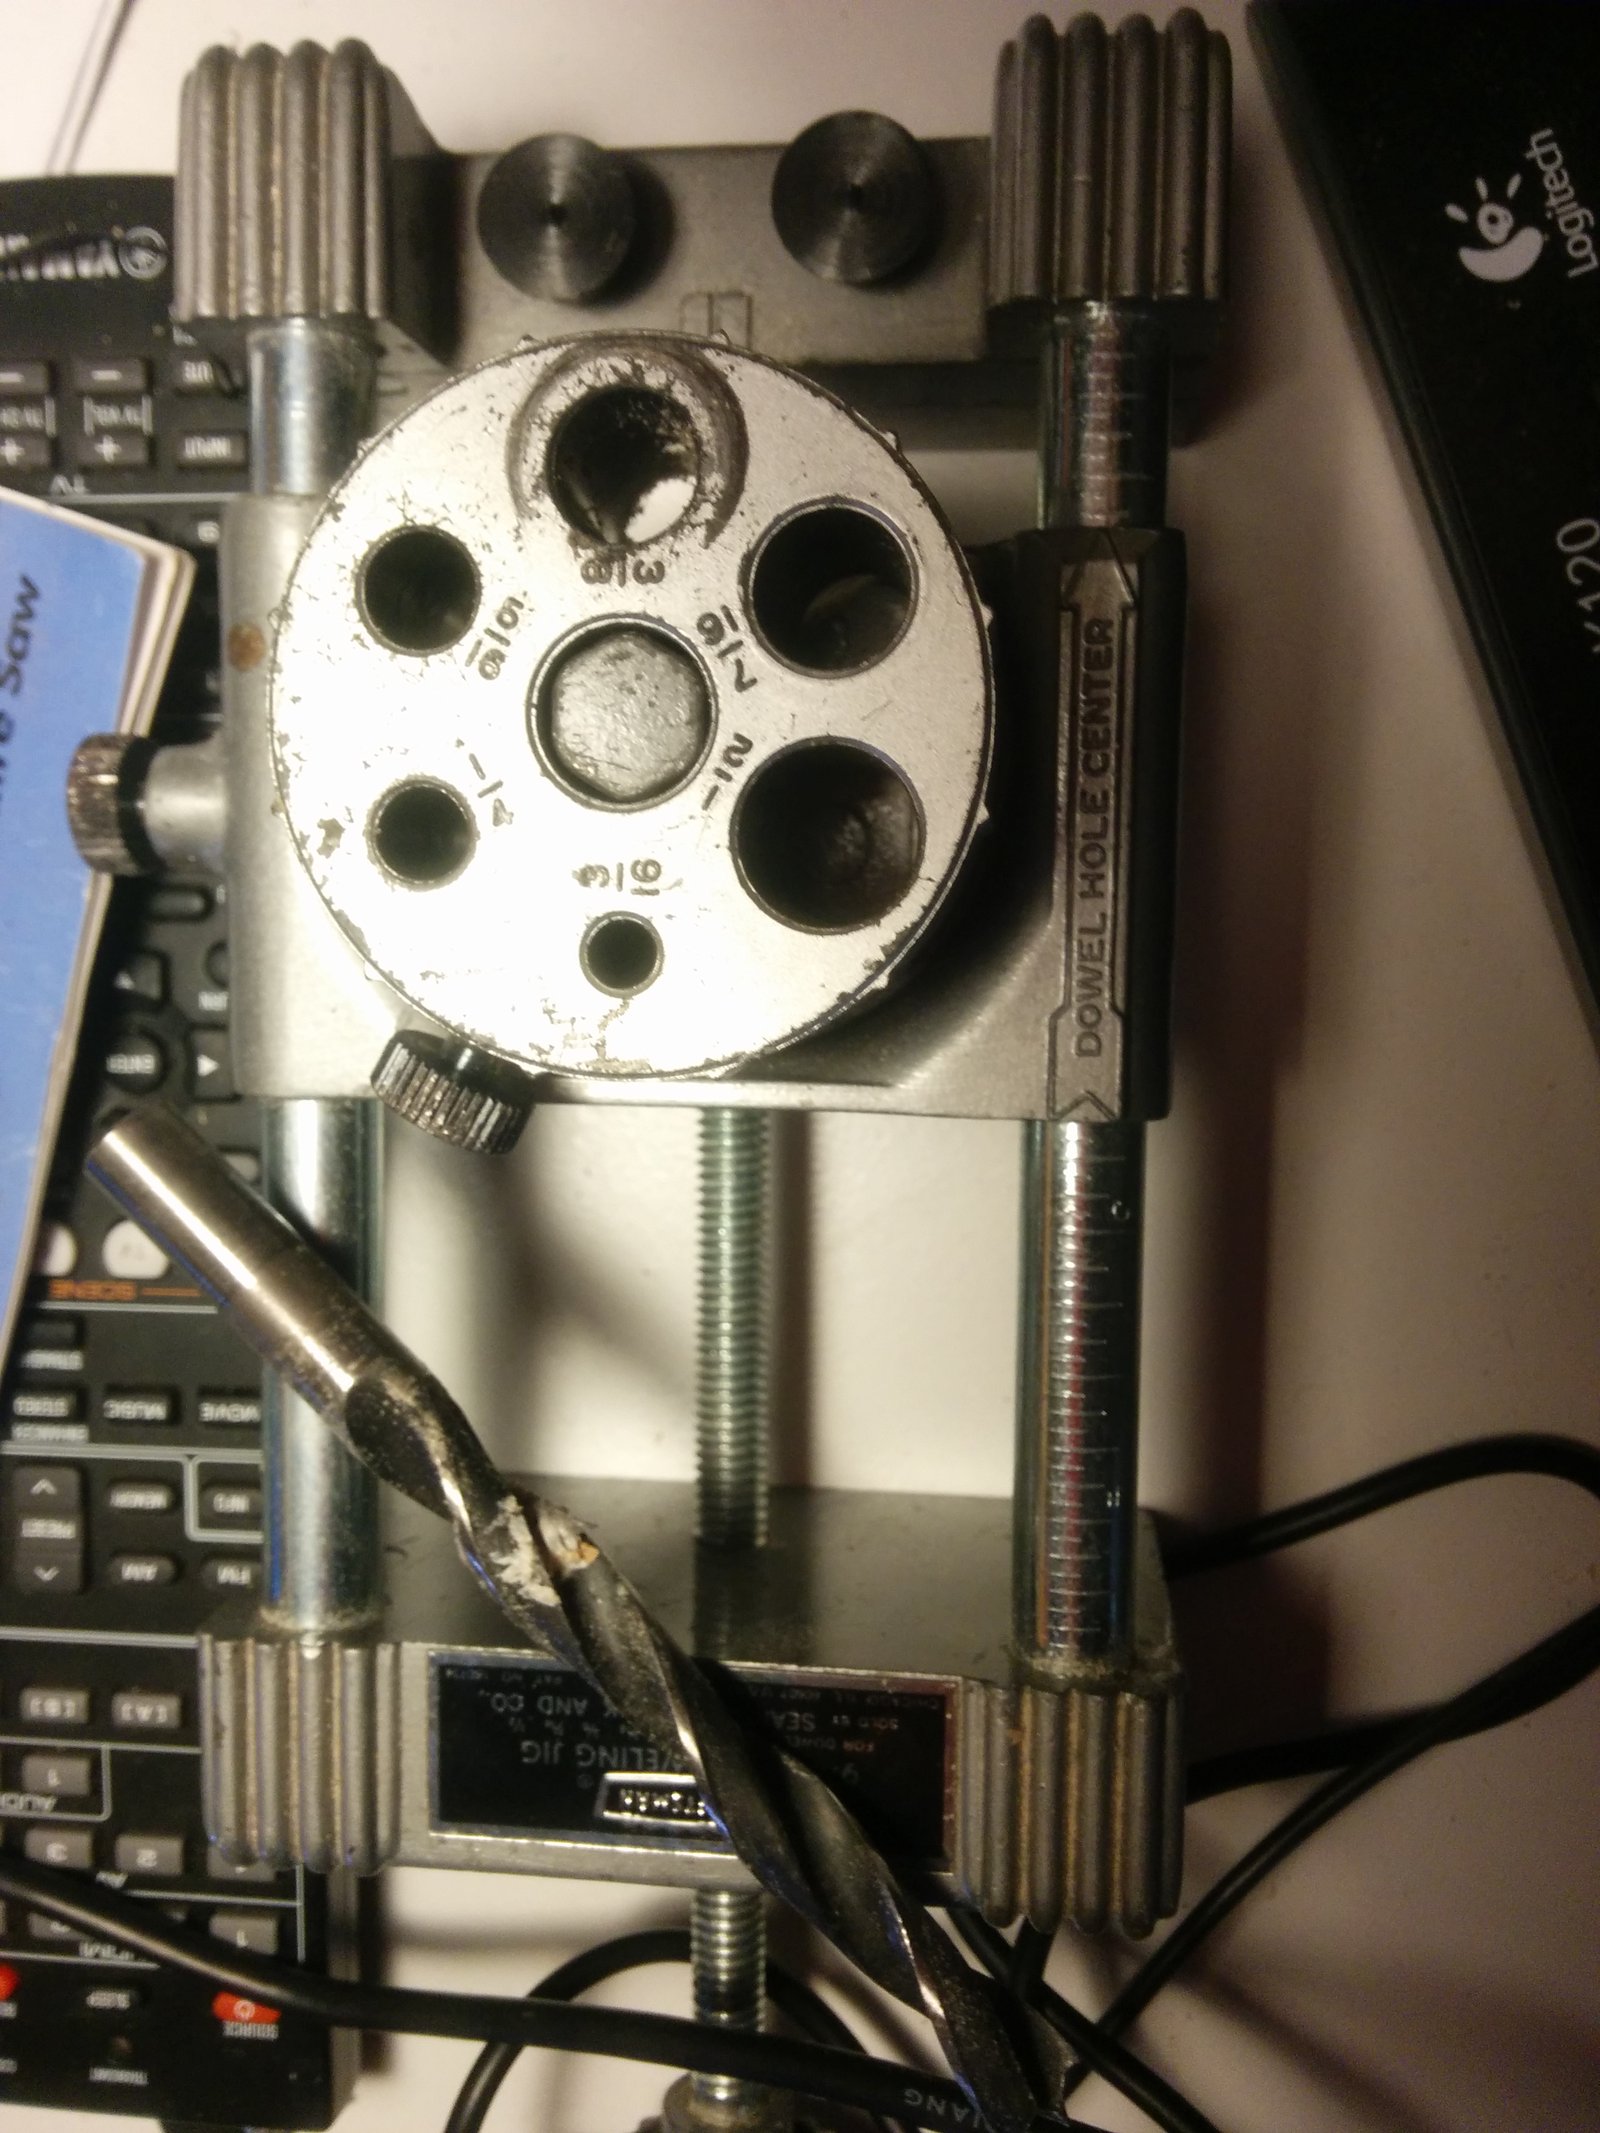
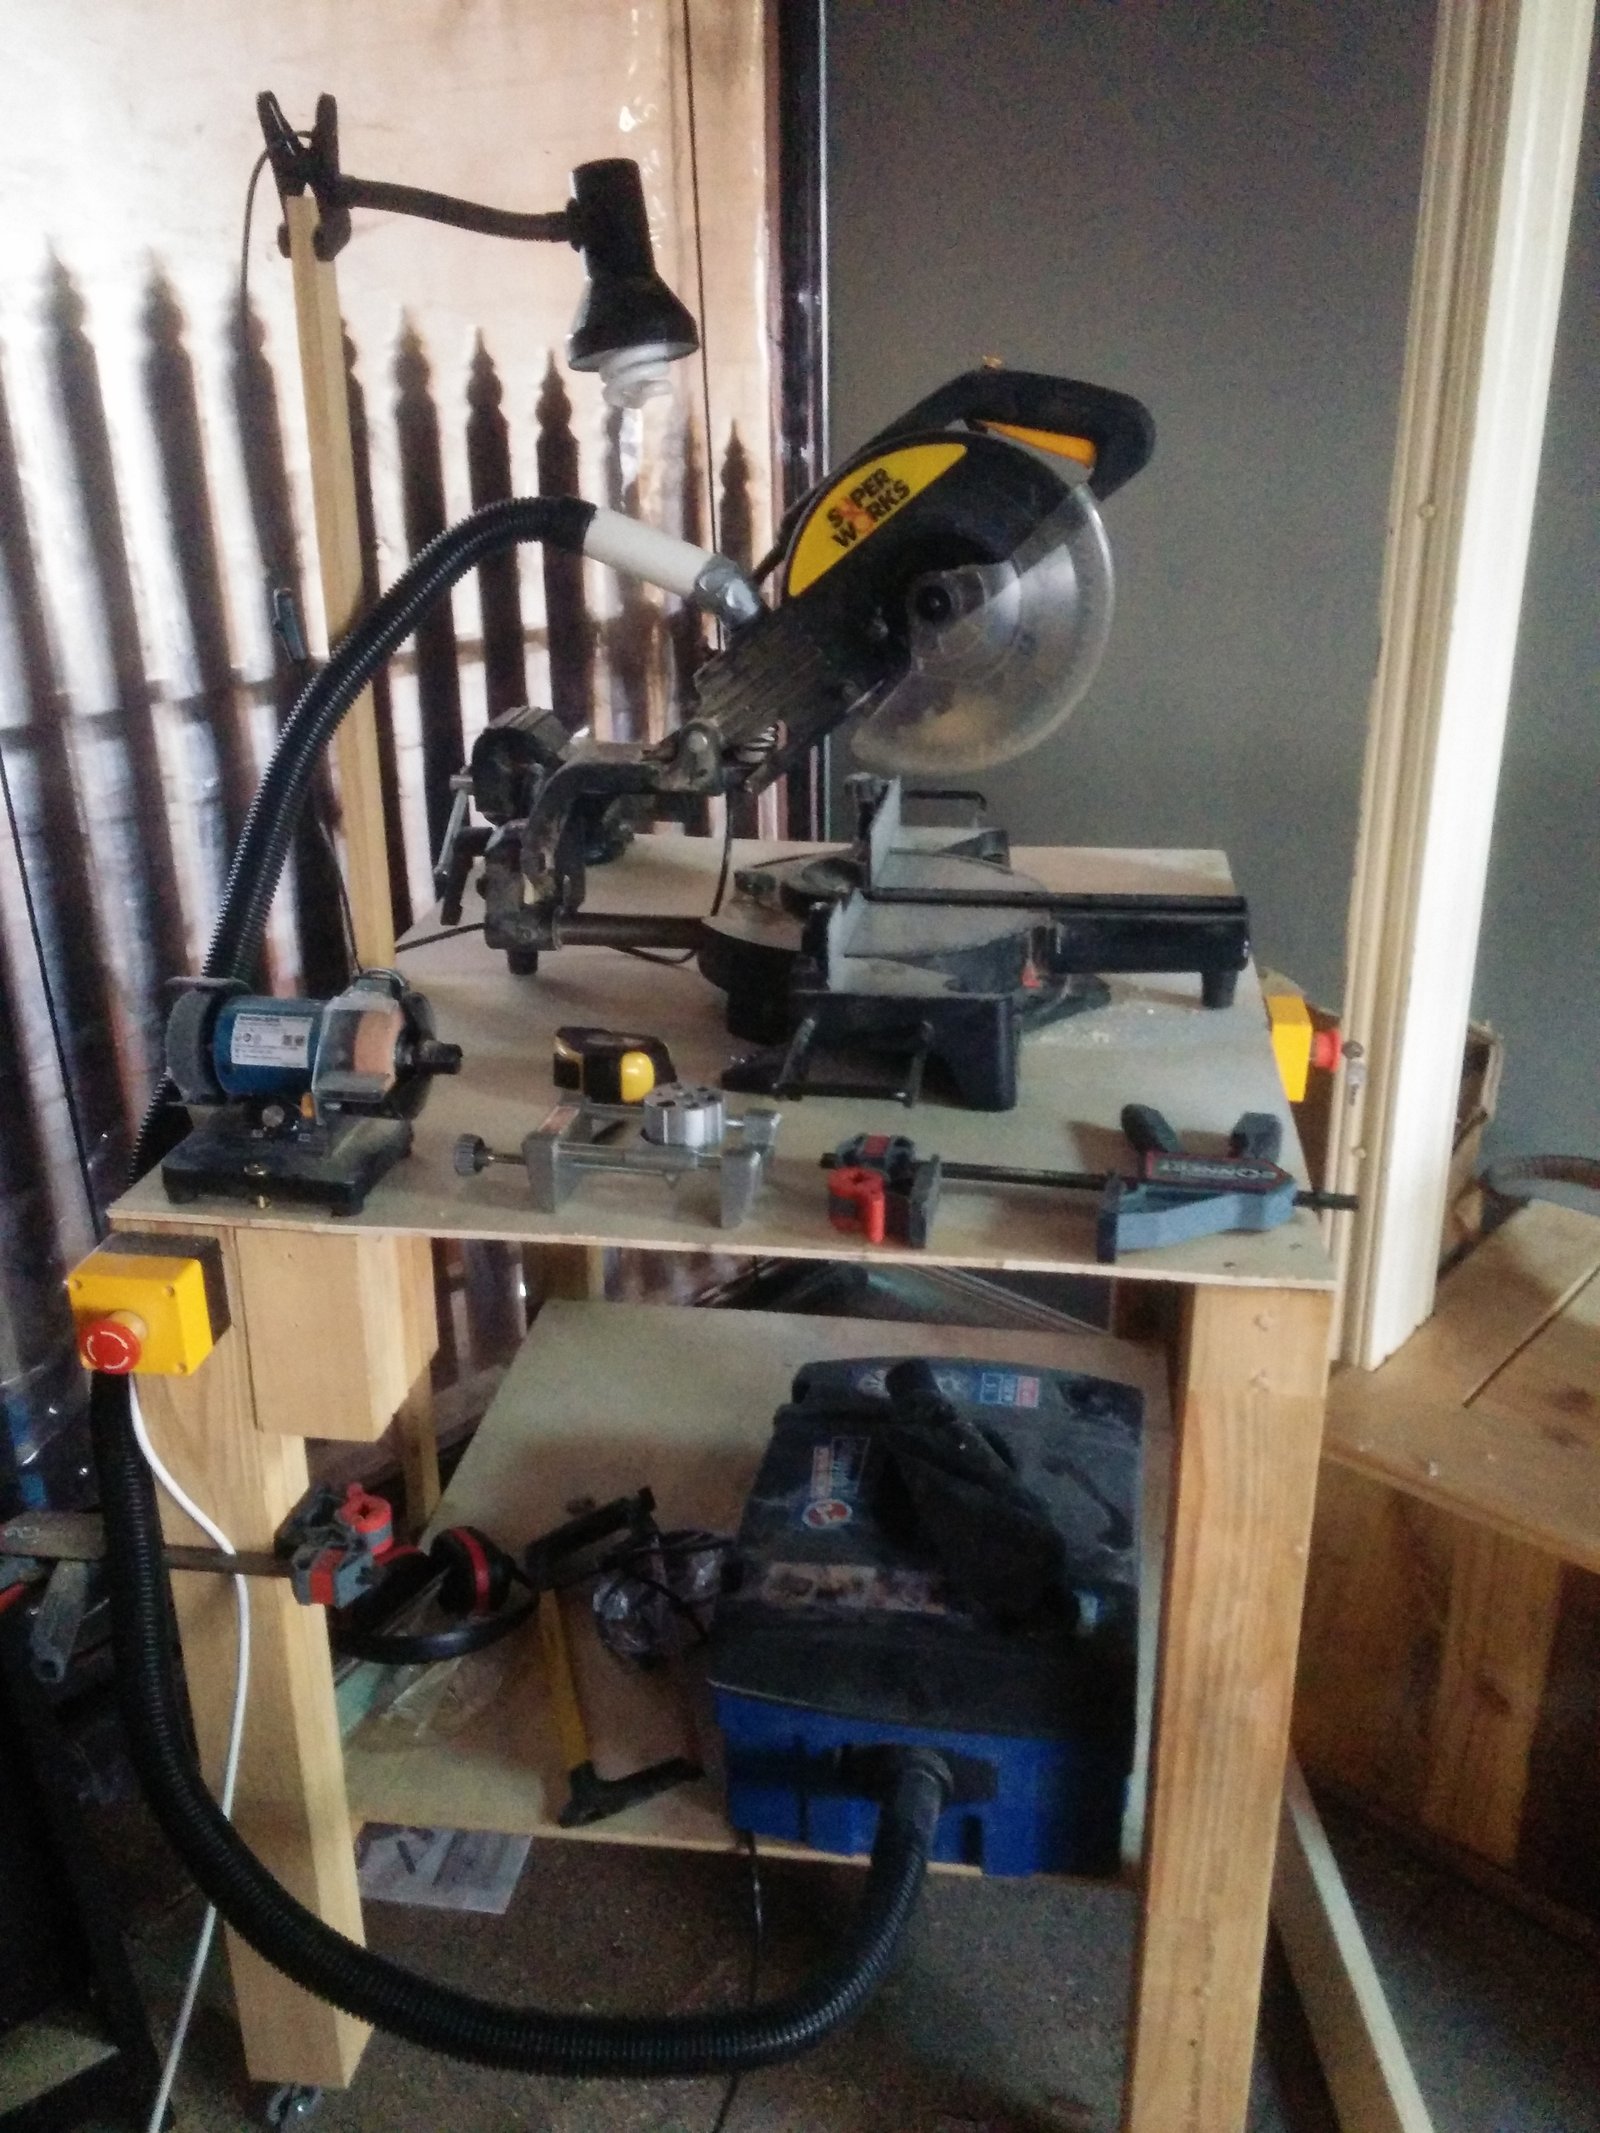
The first of these tools is a dowelling jig. The large thing on the right that looks like a cross between a clamp and a revolver is my dowelling jig. If money wasn't an issue I would purchase one of the joint genie kits. By reputation, these are amazing. Another alternative is one of the Haron jigs which are in my price range, but.... The problem with many of these kits apart from cheapness of construction is that they are designed to make kitchen style cabinets and for this reason they only go up to 30mm. I am currently using pine that is 70x35 and at times larger. As a first step in learning this stuff I am building work benches for various power tools. This is in no way fine woodwork but it does get me used to the traps and ways to get precision.
A third option for a dowelling jig is to buy an old dowelling jig like the one I bought. This is the sears turret dowelling jig. It is probably 40years old and still working perfectly. It will handle wood up to just over 100mm. There are a few other vintage dowelling jigs that people swear by so just do some research.
There are some downsides. Firstly it doesn't have the features the new models have. It ensures that your holes are at right angles to the surface and allows you to centre your hole on the right point. The biggest issue is that all the sizes are imperial which is not insurmountable. After all, if you purchase dowel rod, even if it is marketed in metric sizes, vernier callipers will probably show it as the nearest imperial size.
 A dowelling jig will solve the need to drill right angle holes but not solve the problem of hole depth. You could use a drill press if you can get the piece of wood into the right place to drill. You could also use one of those hand drill depth gauges if you can avoid the jig. Hardware shops sell little metal rings to put on your drill bit to show you when you have reached depth. I have found these a waste of time. They don't stay on my drills and when attached they are never straight. Instead I use a bit of white paint to mark the depth - liquid paper will do. Be sure to paint in the runnels so that it lasts longer. On my drills there are two white marks - for use with the jig and use without. Your hole depth should be just over half the length of the dowel you are using. It is probably preferable to be slightly deep than slightly shallow.
Even at 100mm, sometimes you are joining to a piece that is just too big for the jig. For this you can drill your holes on the other piece with the jig and then use dowel centres (seen on the opposite end of the jig from the drill bit). These are little circular plugs that push into a drilled hole. They have a wide collar with a spike in the middle. You place them in the hole in one surface of the joint, Put the face where it is supposed to be in the joint and then tap it with a mallet. You will then have an indentation where the corresponding hole needs to be drilled.
Tips:
- Be careful about orientation. If you mark everything in the orientation that it will be fitted together, it will much more likely come together. Also number each joint to ensure that the pieces you set up to be together end up together.
- Only measure once for each joint, then take your position/measurement from that measurement to your other pieces of timber. A drawn line can be up to a mm out.
- Use a mallet rather than a hammer to knock the joint together. Locate the dowels in the holes and then tap the joint together. I am using a rubber mallet, a wooden one would probably be better.
- Test the joint before glueing. It is much easier to fix dry joints than when glue is drying.
- Glue joint surfaces and holes or dowels. One point of dowels is to increase the glued area and thus make the joint stronger
- The dowelling can be perfect and the job ruined by other inaccuracies like timber cuts.


